
It’s no secret that it can be difficult to brush and floss with braces… But it’s important to keep them clean! Luckily, there have been many advancements over the years that have made the process much easier. Read on for a detailed guide on how to brush and floss your braces!
Tools for Brushing
Toothbrushes
You’ll want to get a toothbrush that is firm, but not so firm that it scratches your gums or enamel. Medium or hard-bristled toothbrushes are usually too firm for your teeth and gums. There are special toothbrushes made for braces and electric toothbrushes you can use to make the process easier and faster, but they’re not mandatory. If you can spend extra money, special toothbrushes could be for you. You can always check with your dentist or orthodontist to ensure you make the right choice.
Toothpaste
Always use toothpaste with fluoride. Fluoride is a natural mineral that reverses early tooth decay. It also helps keep bacteria from sticking to your teeth! A good rule of thumb for picking a toothpaste is to look for an American Dental Association (ADA) seal on the package. Your dentist or orthodontist will happily point you in the right direction as well.
Brushing
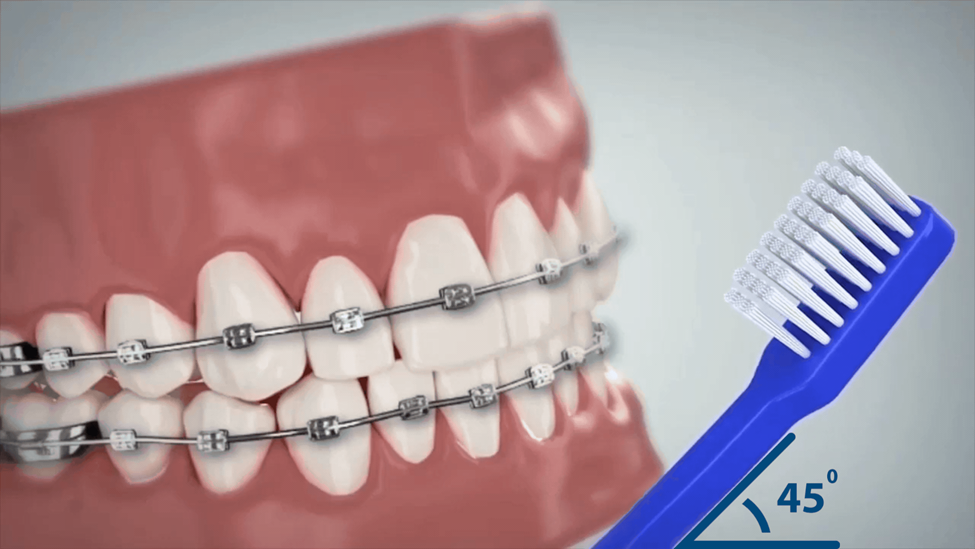
Hold your toothbrush at a 45-degree angle.
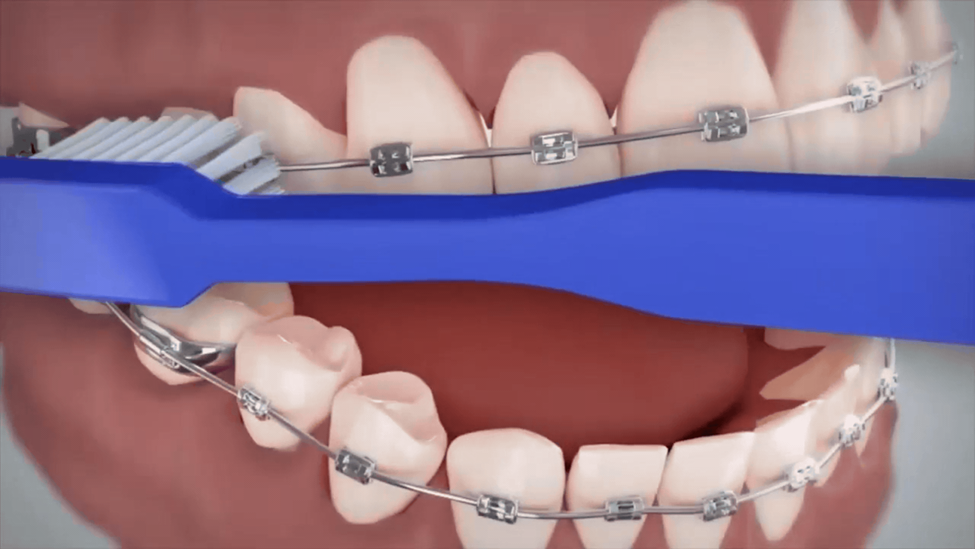
Use gentle, wide strokes back and forth. Use this method to thoroughly brush each tooth along the gumline.
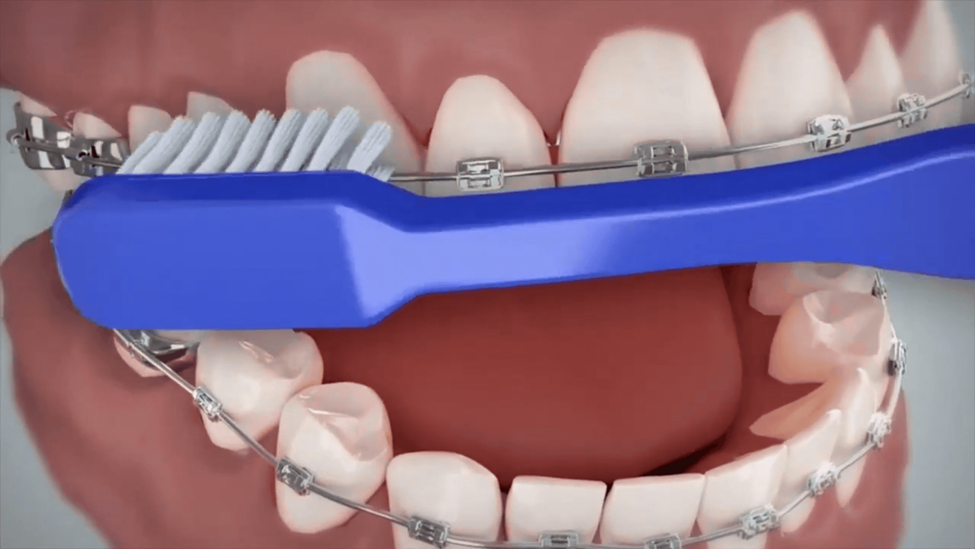
Next, brush the surface of your braces. That is the part that shows when you open your mouth or smile.
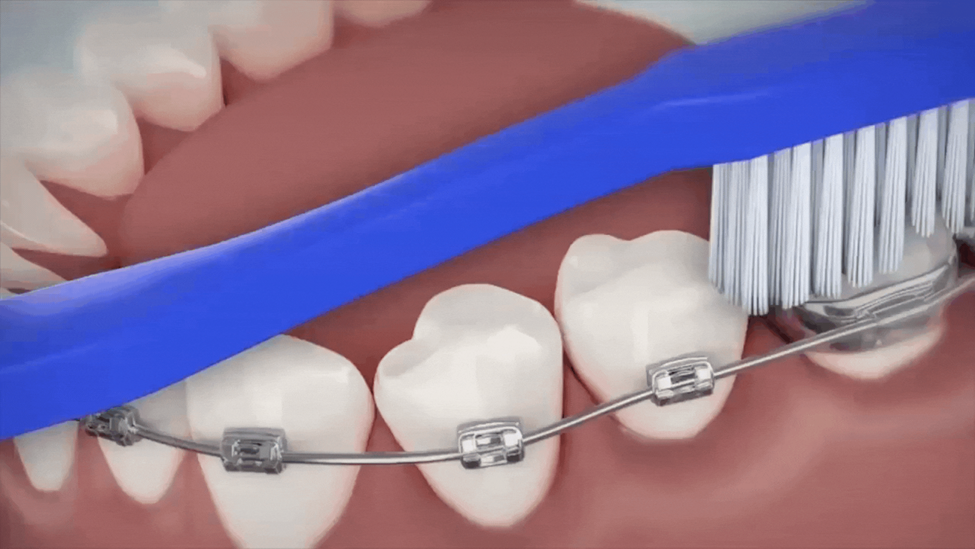
Finish by brushing the inner surfaces of your teeth, including the parts where you chew food. Don’t forget to brush your tongue as well.
If you feel you need more of a deep clean, you can use a proxy brush with a small amount of toothpaste. The thin brush can get in the tight areas between your teeth, where cavities often develop with braces. Remember, this product is used to supplement brushing and flossing. You cannot use it as a substitution. It’s not a standalone solution, but it’s a great addition.
Tools for Flossing
Standard Floss
Your usual string floss is perfectly fine to use.
Floss Threader
This small tool helps you to get the floss under your braces for an easier experience.
OrthoPick (optional)
These tools are much like the small, plastic, disposable flossers you see at the store. However, they are designed specifically for use with braces.
Water Flosser (optional)
The water flosser uses pressure to get the gunk between your teeth.
Flossing with Standard Floss

Take the threader’s thin end and run it underneath your wire, leaving some room for the loop. Grab your regular floss and thread it through the loop. Once the end of the floss is over enough, grab the threader and pull until you can grab the regular floss underneath the wire. You are done with the threader now.
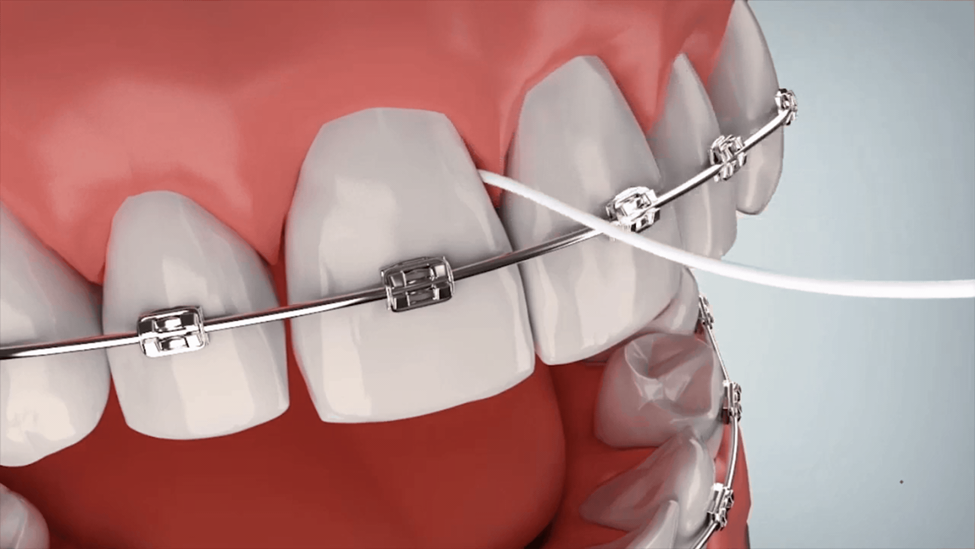
Wrap the ends of the floss around your pointer fingers of both hands but leave a few inches of taut floss between them. Gently slide the floss between each set of teeth using a back-and-forth. Repeat this process for every single tooth.
Flossing with an Orthopick
Guide the smaller side underneath your wire, and floss as normal. That’s it! You can view a demonstration here. This option is easy and quick. It takes all the hassle out of flossing.
Flossing with a Water Flosser
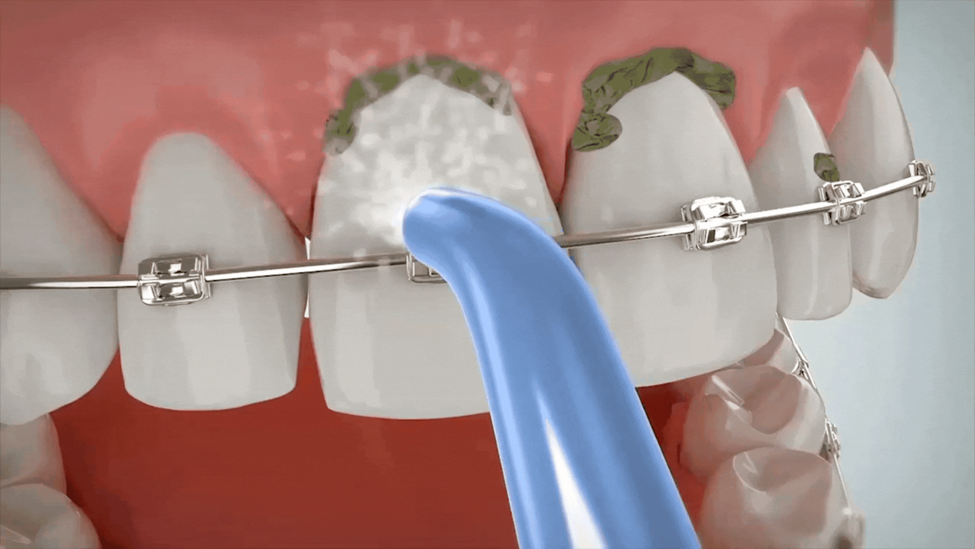
Use the flosser to spray water on your teeth and braces. Make sure to get your gumline, braces surface, and in between teeth. This tool is also a great alternative to regular floss.
How Often do I Brush and Floss?
You should brush and floss after every meal. Food can get stuck much easier with braces on. Cleaning after every meal will help keep the food from getting trapped within your braces. If the food stays trapped, it can create cavities and even discolor the parts of the teeth not covered by the brackets. So, stay diligent with your oral hygiene. Once you find the brushing and flossing combination that works best for you, it won’t feel like such a chore anymore!